Update: 7/1/24. This is the fourth of five consecutive posts on the solar collector. At the time of their writing, we were influenced by the precedent set by the few pioneers that predated our project. The discussion in my 7/1/24 blog post makes the case for eliminating the solar collector altogether and, except for providing a perspective on our thought at the time, renders this and the next four posts moot.
___________________
The previous post covered the functioning part of the collector. This, the fourth post on the collector, describes the safety fence surrounding it, the design for which needed to meet
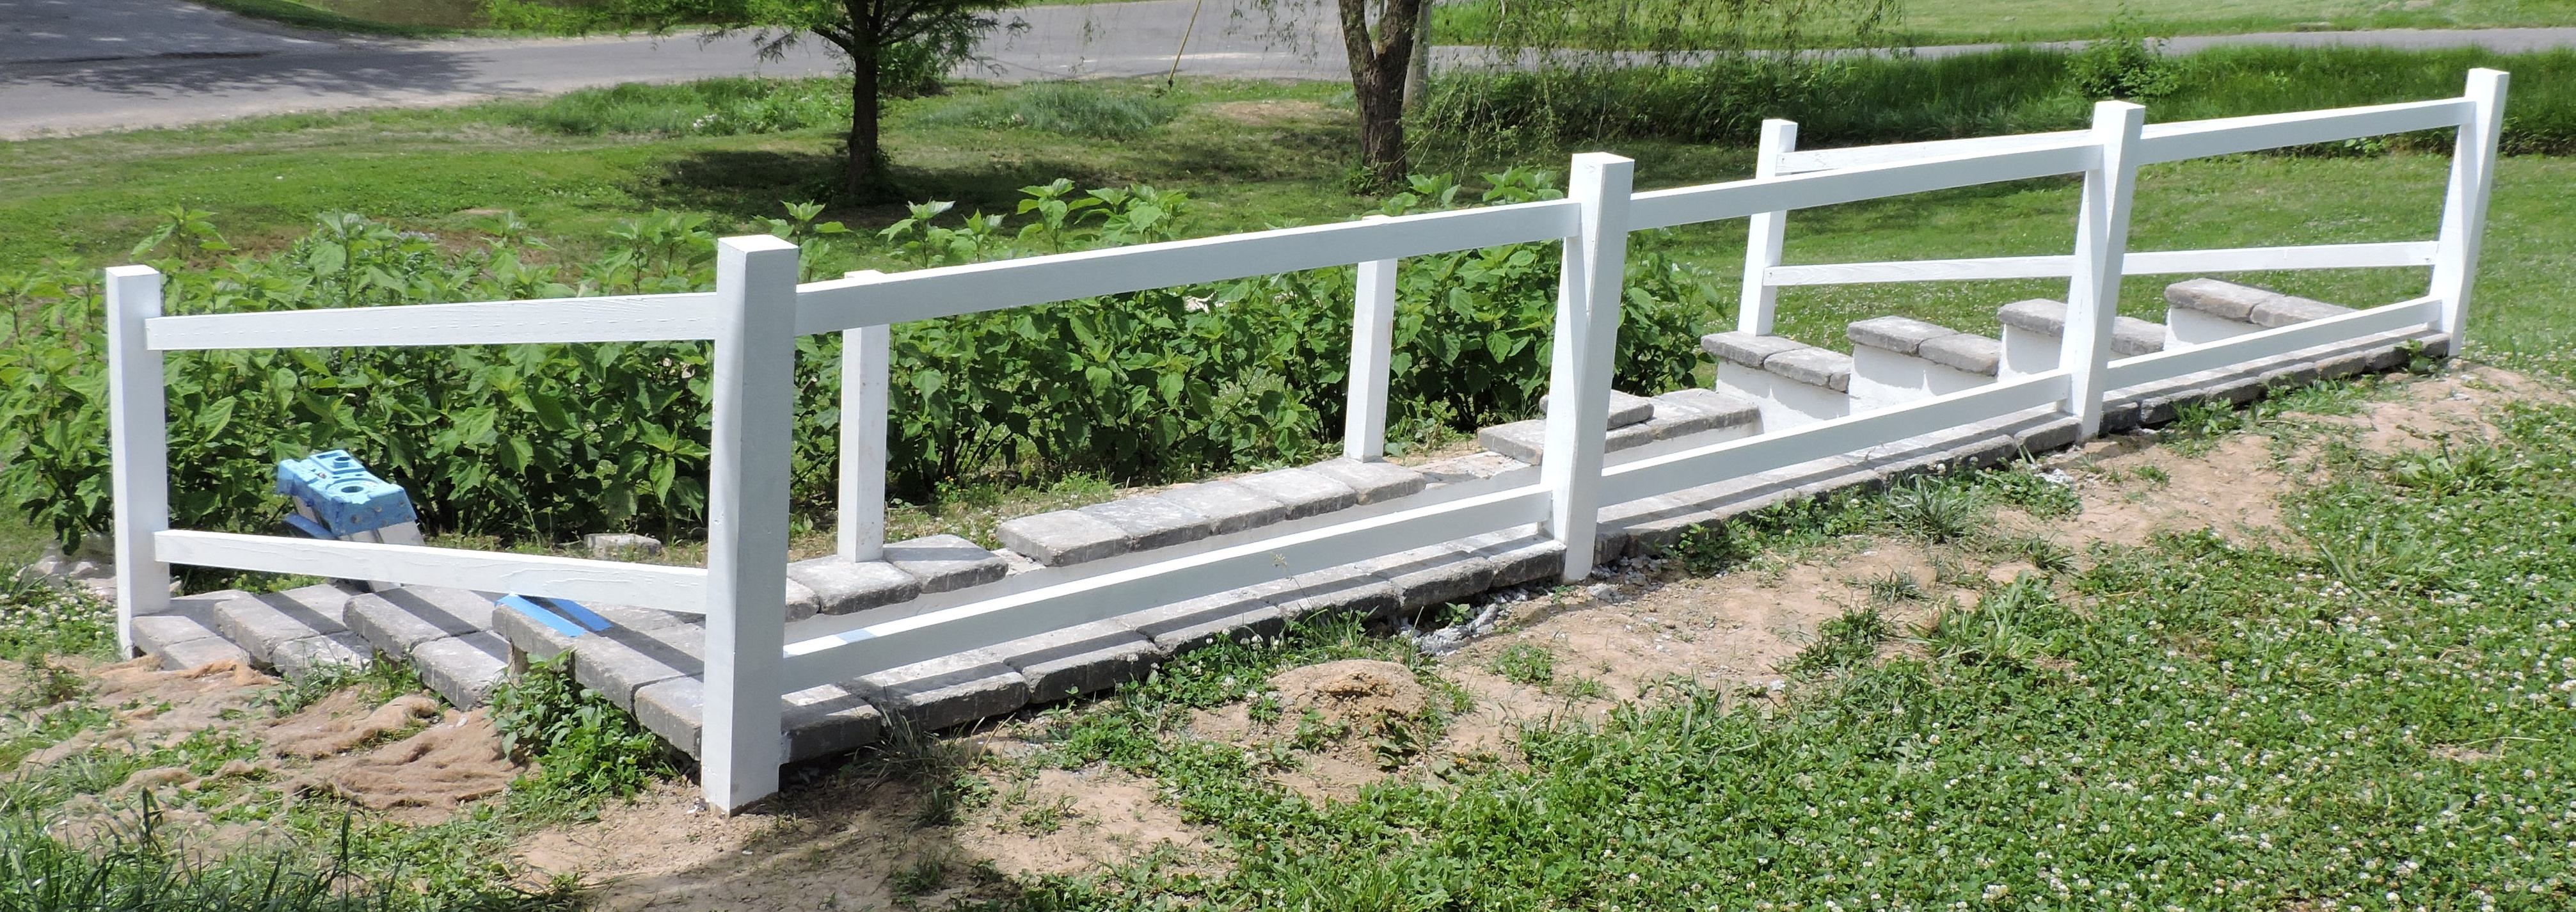 |
| The framework for the safety fence around the collector shell. |
(Reminder: click on any picture to enlarge it for better viewing.)
Upgrading the Top of the Wall
When the collector shell was built five years ago, the top of the walls were covered with 2 x 12 pressure treated planks that were anchored with bolts embedded in concrete. While they protected the top of the walls, they left much to be desired aesthetically and begged to be replaced. It took only a few minutes at the landscape supply store to decide in favor of concrete pavers instead of pricey capstones. I dry-fitted them to determine where the posts for the fence should be located in order to minimize laborious notching of the pavers. I then installed the posts and notched the pavers using a diamond blade in the radial arm saw. I also custom crosscut a few pavers as necessary to filled the gaps that would not accommodate full sized units.
Post Placement
Like the solar collector framework, the pressure treated lumber for the fencing was stickered and air-dried for several months so that it remained straight and would accept and hold paint. Then, before assembly, it was undercoated on all six surfaces and final coated on at least three surfaces. The 4 x 4 posts extend below the ground to the depth of 12 - 16" so they needed to be ground-contact rated; the pressure treated lumber for the rest of the railing system needed only to be rated for above-ground use. The corner posts were "V"-shaped at the bottom so as to rest on the top of the wall and straddle both surfaces of the wall below. Two long and robust Tapcon concrete screws through each surface was more than adequate to anchor them firmly and, with the sometimes help of composite shims, hold them plumb. Instead of "V-ing" the bottoms of the intervening posts (south and north sides), they were reduced in thickness by a half so as to rest on top of the wall and extend downward where they were anchored by four screws each. Backfilling and tamping the soil around all of the posts will help to support them as well.
With the posts in place I could lay the pavers in mortar. The weather was hot and I got in a hurry to get done so I laid them without the benefit of a mason's line. The result, I am sorry to say, looked pretty amateurish.
East and West Sides
The wood framework for the enclosure supports a wire grid fashioned from cattle fencing that I cut from panels that come 4' high and 12' long.
The fencing for the east and west sides of the enclosure presented a challenge in that it had to be stepped to follow the contour of the stepped walls and its top had to slant to follow
the slope of the stepping. Since the cattle panels were 4' high, I installed a temporary board 4' above the lowest step and leveled it. Off of that I could measure the amount that the fence panel would have to be reduced over each step uphill from the lowest step. These measurements, along with the length of each step and the slope at the top, were laid out on a cardboard pattern. After dry-fitting and tweaking the pattern, I laid it on a section of fencing that had been cut to length and marked the wires to follow its edges. An angle grinder with a metal-cutting diamond blade easily handled the 4 gauge wire. The cardboard was accurate enough to be used as a guide for cutting and fitting the support board at the top of the fence. I used 2-by blocks under the wire panel to hold it off the wall slightly as I attached the board at the appropriate height to catch enough of the top of the fence board for secure fastening.
Dry-fitting the cardboard pattern to the east end of the
collector showed that, with one minor adjustment, it could be used for cutting the east fencing panel. I added the top board on the east at a height that matched the board on the west. Confident that metal panels were installation-ready, I set them aside so that they would not interfere with laying the pavers with mortar.
North and South Sides
Compared to the east and west sides, the north and south sides were easy. For the north side, I installed the top boards at a height that matched the northern ends of the side boards and the bottom boards at 1 1/2" above the pavers. I added 2x2 nailers to the sides of the corner posts to receive the vertical edges of the
fencing panels. As an cosmetic touch after the panels were fastened to the top and bottom boards and to the posts, I added 1-bys on the collector side of the entire framework.
I decided to delay the fence for the south side until the glass was installed on the collector in order to leave plenty of access with the heavy glass panes. I entertained the idea of building an access gate into the south fence but decided against it based on looks, which means that we will have to drop an extension ladder into the shell when access is necessary for maintenance. The design of the south fence was then identical to the north fence.
Post Caps and Cap Rail
Finally, I added store-bought pressure treated post caps to the tops of the posts -- for aesthetics and to protect the end-grain of the
posts from deterioration. The caps for the top rails will be 2 x 6s that I customize with bi-sloped tops to shed moisture eventually. Their addition is being postponed while more urgent projects on the house are handled.
Upgrading the Top of the Wall
When the collector shell was built five years ago, the top of the walls were covered with 2 x 12 pressure treated planks that were anchored with bolts embedded in concrete. While they protected the top of the walls, they left much to be desired aesthetically and begged to be replaced. It took only a few minutes at the landscape supply store to decide in favor of concrete pavers instead of pricey capstones. I dry-fitted them to determine where the posts for the fence should be located in order to minimize laborious notching of the pavers. I then installed the posts and notched the pavers using a diamond blade in the radial arm saw. I also custom crosscut a few pavers as necessary to filled the gaps that would not accommodate full sized units.
Post Placement
Like the solar collector framework, the pressure treated lumber for the fencing was stickered and air-dried for several months so that it remained straight and would accept and hold paint. Then, before assembly, it was undercoated on all six surfaces and final coated on at least three surfaces. The 4 x 4 posts extend below the ground to the depth of 12 - 16" so they needed to be ground-contact rated; the pressure treated lumber for the rest of the railing system needed only to be rated for above-ground use. The corner posts were "V"-shaped at the bottom so as to rest on the top of the wall and straddle both surfaces of the wall below. Two long and robust Tapcon concrete screws through each surface was more than adequate to anchor them firmly and, with the sometimes help of composite shims, hold them plumb. Instead of "V-ing" the bottoms of the intervening posts (south and north sides), they were reduced in thickness by a half so as to rest on top of the wall and extend downward where they were anchored by four screws each. Backfilling and tamping the soil around all of the posts will help to support them as well.
With the posts in place I could lay the pavers in mortar. The weather was hot and I got in a hurry to get done so I laid them without the benefit of a mason's line. The result, I am sorry to say, looked pretty amateurish.
East and West Sides
The wood framework for the enclosure supports a wire grid fashioned from cattle fencing that I cut from panels that come 4' high and 12' long.
The fencing for the east and west sides of the enclosure presented a challenge in that it had to be stepped to follow the contour of the stepped walls and its top had to slant to follow
 |
| Temporary layout board. A few of the cap stones are yet to be mortared in. |
Dry-fitting the cardboard pattern to the east end of the
 |
| The cardboard pattern in place over the cattle fencing for the east end of the collector. |
North and South Sides
Compared to the east and west sides, the north and south sides were easy. For the north side, I installed the top boards at a height that matched the northern ends of the side boards and the bottom boards at 1 1/2" above the pavers. I added 2x2 nailers to the sides of the corner posts to receive the vertical edges of the
 |
| Fencing completed except for caprails. The ladder used during construction is still in the collector. |
fencing panels. As an cosmetic touch after the panels were fastened to the top and bottom boards and to the posts, I added 1-bys on the collector side of the entire framework.
I decided to delay the fence for the south side until the glass was installed on the collector in order to leave plenty of access with the heavy glass panes. I entertained the idea of building an access gate into the south fence but decided against it based on looks, which means that we will have to drop an extension ladder into the shell when access is necessary for maintenance. The design of the south fence was then identical to the north fence.
Post Caps and Cap Rail
Finally, I added store-bought pressure treated post caps to the tops of the posts -- for aesthetics and to protect the end-grain of the
 |
| In lieu of a gate in the fence, a ladder will have to be used for servicing the collector |
No comments:
Post a Comment
As a do-it-selfer-in-training, I welcome your comments.